General Information
Default Menu Location Maintain >> Project Control >> Projects
Screen Name MSN1
Function Project Control Screen is used to add/edit/delete all internal and external projects for your organization.
The Master tab is used to enter general information about the project.
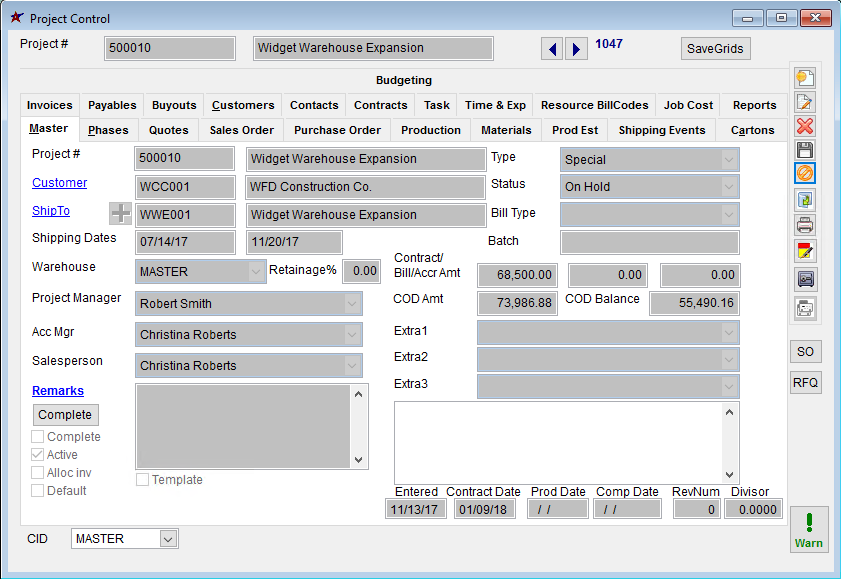 Project Control Master screen |
Fields/Filters/Buttons
Project #: Enter the project name of the project
Shipping Dates: Enter valid project/shipping dates
Whse: The default warehouse used for shipping items related to this project
Retainage%: The retainage percentage associated with this project.
Project Manager: Only people assigned with the Project Manager attribute may be selected
Account Manager: Only people assigned with the Account Manager attribute may be selected
Consultant: Consultant assigned to project.
Extra2: This field can be used to assign any other resource to the project.
Batch No.: This field is used to group projects to aid in production planning. Assign a Batch Number to projects that can be produced together. This number will carry over to both the Project Grid, and the Production Work Order Master screen.
Remarks: Free-text field (maximum 500 characters)
Type: The priority/type of the project. Project types are maintained in the
Rule Maintenance screen by selecting Project Types from the drop-down menu.
Status: The status of the project. Project statuses are maintained in the
Rule Maintenance screen by selecting Project Status from the drop-down menu.
Bill Type: The billing method for the project
COD Amt: Allows for manually entering the total COD amount for the project records. The MSNCOD setup option can make this field control the COD value on linked Sales Orders (SO) and Bills of Lading (BOL).
COD Balance: Project COD Balance will automatically calculate and display the remaining balance on invoiced orders linked to the project.
Entered: The entry date of the project
Contract Date: The date the contract/project was started or agreed upon
Completion Date: The estimated or actual completion date; or the targeted completion date of the project
Complete: Click the
Complete button to mark the project completed. This will change the status of the project to completed and allow you to mark all tasks associated with the project as complete. It will also allow you to mark the project as Inactive.
Adding a Project
Step 1: Click the new button in the upper right hand corner of the Project Control Screen.
Step 2: Add in all project information in the fields and press the save button upon completion.
Rule Imports
Project Tabs Rule Import File
