PWO Visual Scheduler
From Adjutant Wiki
General Information
Default Menu Location: Transaction >> Production >> PWO Visual Schedule
Screen Name: PWOVisualSchedule_s.htm
Function: The Production PWO Visual Schedule allows users to see their jobs in a calendar format and update the schedule times and even the machine that the job is assigned to run on. The schedule uses tasks to represent the machine production hours needed for each PWO.
When everything is set up, production work orders that are tied to specific machines will automatically generate task records that can be moved around on the schedule to adjust the scheduled time or machine.
Setup Required
The PWO Visual Schedule requires a few areas of setup to support the feature. Some of these areas of setup may require assistance from ABIS Support personnel. It is highly encouraged to work with an ABIS Support representative for assistance with changes to Rule Maintenance settings and CID Setup Options.
In order for the PWO Visual Schedule feature to work, the following setup items must be completed:
- CID Setup Option MULTIMACHINE must be enabled and all production items should have a Machine defined in their department profile attribute. The machine value is the link to the Asset and Resource records.
- A single default Standard Task record named PWOGEN must be created.
- The Profile Machine Rule Maintenance record must be updated with scheduling controls for each machine that should show on the PWO Visual Schedule.
- An Asset record must be created for each machine.
- A Resource record that matches the machine name must be created on the Asset record.
Enable MULTIMACHINE
The CID Setup Option MULTIMACHINE is required to allow creating PWO records using the combination of Department and Profile Machine. If this option is not already enabled in your environment, contact ABIS Support to discuss enabling the option. There may be database-level changes required for any saved machine names that may require ABIS support to address.
Create PWOGEN Standard Task
Create a standard task with the following details:
- Standard Task: Must be PWOGEN
- Description: Can be anything, but PWO Generated Task is suggested
- Priority: Select any valid priority code from the drop-down list to assign the default priority for all PWOGEN tasks. This list of priority codes will be unique for each customer.
- Work Category: Select an appropriate category to use for all PWOGEN tasks. This list of work category codes will be unique for each customer.
- Department: Select an appropriate department to use for all PWOGEN tasks. This list of work department codes will be unique for each customer.
Set up PMACHINE Rule Maintenance
Above is an example PMACHINE Rule Maintenance setup for a few PBR Panel machines. Below are fields related to the PWO Visual Schedule setup. If this Rule Maintenance record needs the newer fields added, it is highly recommended to contact ABIS Support for assistance. Updating Rule Maintenance records incorrectly can lead to destroyed data and can cause certain features/systems to stop functioning.
- Units per Hour (text3): Enter the unit of measure (i.e. FT, LBS, EA) that will be used for tracking the machine's production capacity.
- Plant (tex4): This should match the Production Plant name.
- Tag ID (text5): This value must exactly match the Asset record Tag ID value for the machine Asset record in the next step. Best practice is to match the Asset Tag ID and the machine name.
- Qty per Hour:
- Hours per day:
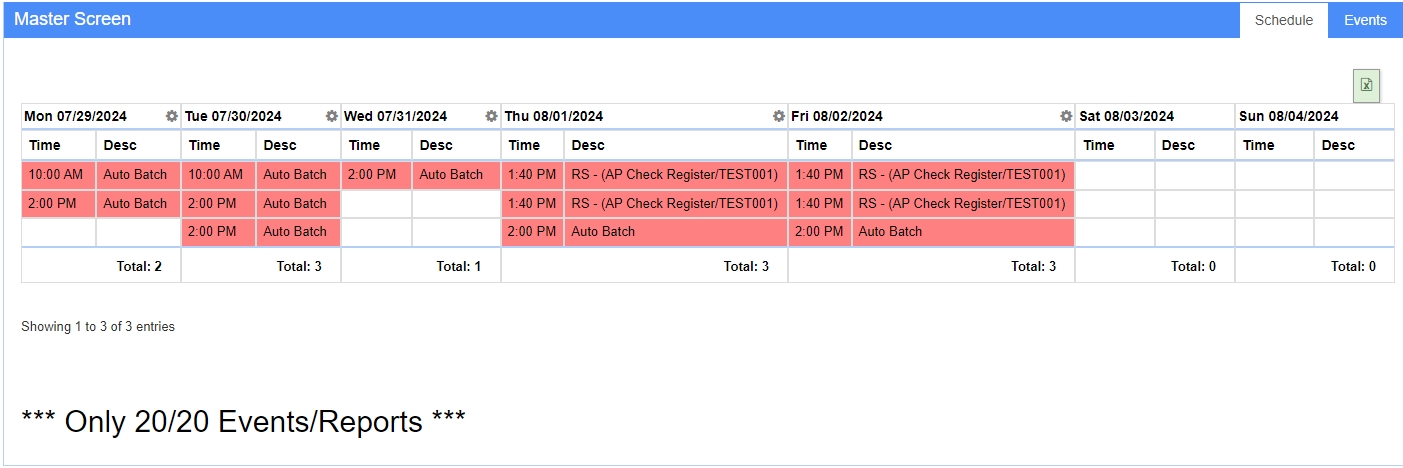
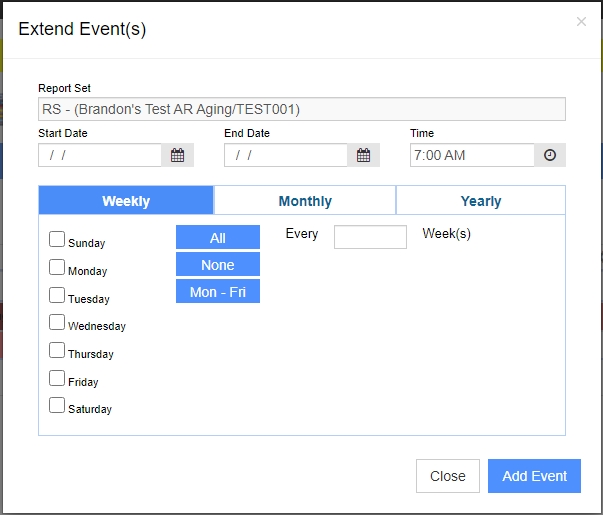
To schedule a Report Set, select the Events tab, and then choose Report Set from the Priority drop-down menu. Next, enter the Start and End Dates, as well as the Time you want the report set to be scheduled. Next, select the frequency (Weekly, Monthly, or Yearly) in which the report set should be posted. Next, select the specific report set(s) and CID(s) from the corresponding lists: Report Sets and CIDs. Lastly, select the "Add Event" button to schedule your Report Set(s).
Viewing/Editing Schedule
- Double-click a Report Set to view the details of the reports, who they're sent to, where they're saved, etc.
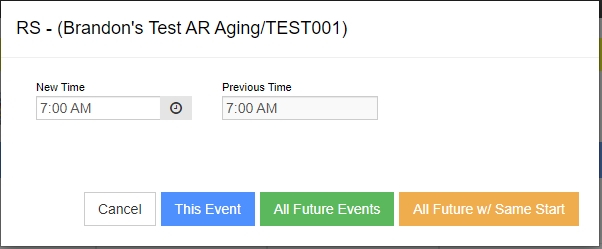
- Right-Click a Report Set or Batch, then select Change Time, Change Schedule (Extend Event(s)), or Delete Event to modify it. You can reschedule and delete future events as well.
- Change Time
- Change Schedule (Extend Event(s))
- Delete Event


